How-to: Use Guided Review to approve reports

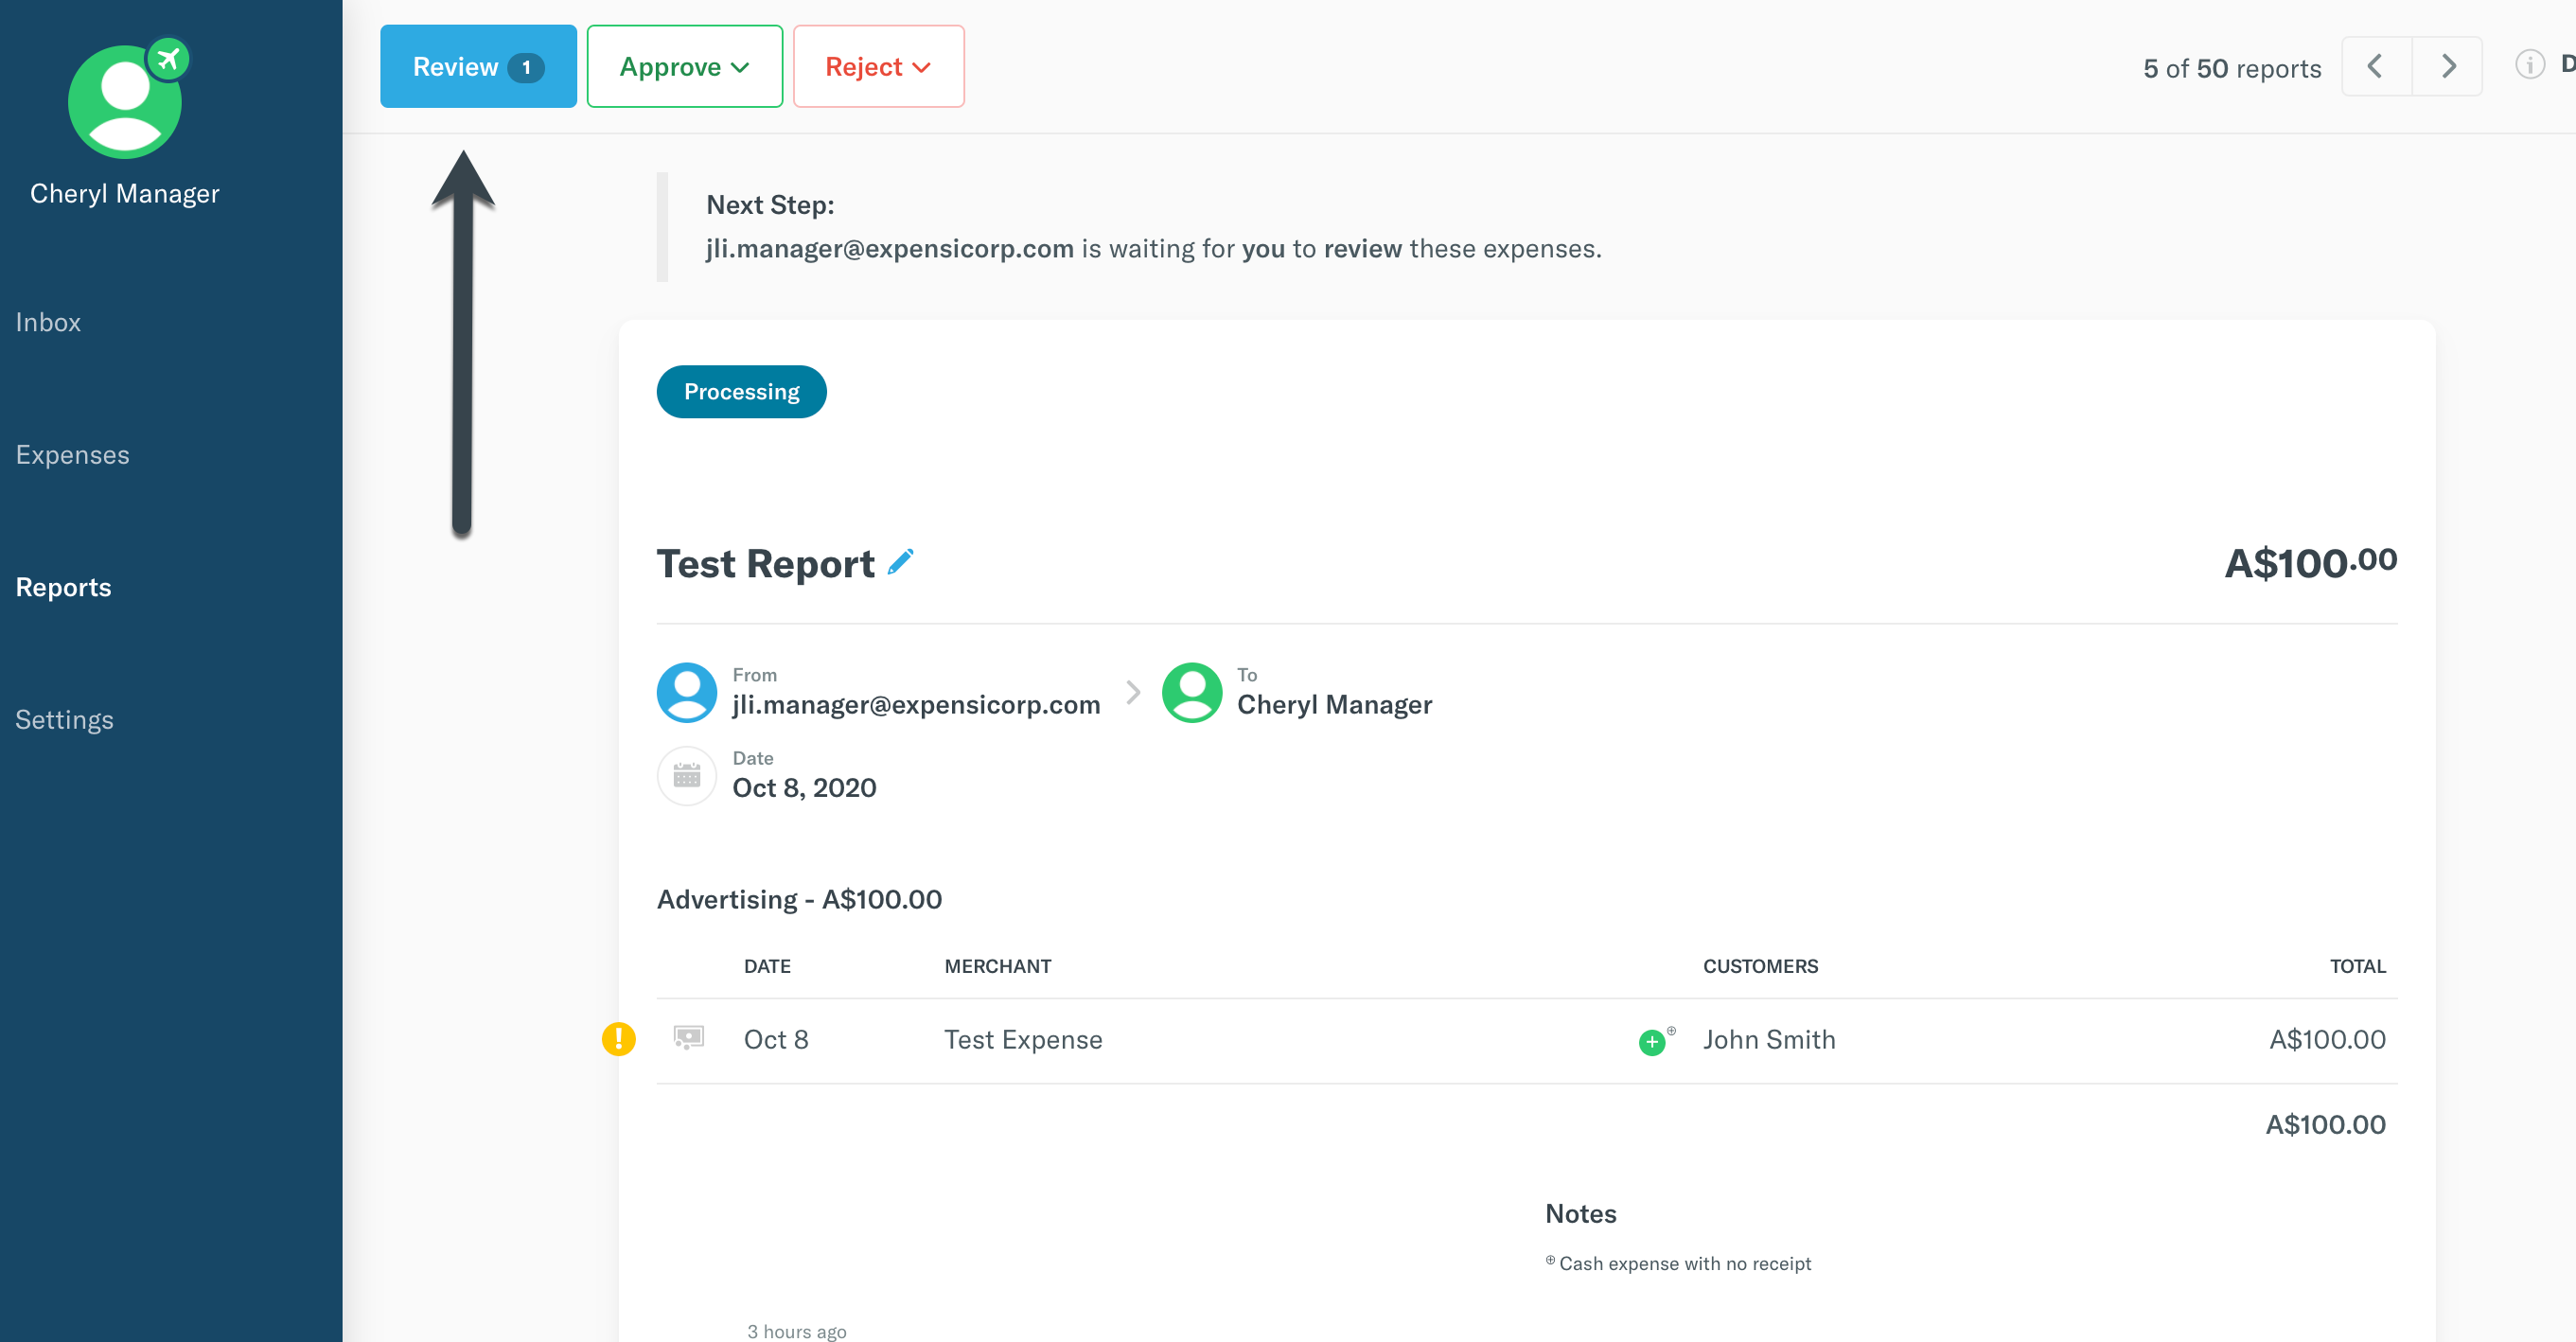
Is there anything better than not having to guess what's wrong with a report? Meet Guided Review. This is your one-stop shop for report information. You'll be guided through all report violations and warnings and given the option to Reject or Edit items that need review prior to approving a report.
Guided Review helps approvers quickly identify reports that need more attention so they can pass over reports that can be quickly approved. Both Submitters and Approvers have actionable notifications for the following: violations, warnings, and notices. These notifications are important since they will be included in “review mode” for the approver to make clear approve or reject decisions.
Let's walk through this, shall we?
Via the Website:
1. Simply click Review at the top of the report and the system will begin to walk you through the entire report:
2. Choose to Reject, View, or skip over an item needing review. If you wish to stop the process at any time, click the X in the progress bar.
- Reject: This will remove the expense from the report and send it back to the submitter. An email will be sent to the submitter explaining this expense has been rejected.
- View: This will allow you to open the expense so you can view and fix any incorrect data.
- Next: This will allow you to skip over the current item and move forward to review the rest of the report.
- Finish: Click this to finish reviewing the report!
3. Click the Finish button if you are done reviewing, or reject/edit the last item to finish the review process.
4. Approve the report! Approve and Forward the report if there is another person that needs to review the report in your approval workflow, or you can Final Approve if you are the final approver. Note: When in Guided Review, you'll automatically Approve the report adhering to your Company's Approval Workflow once you Approve the final expense on the report. You'll then be immediately taken to the next report requiring your attention - making Approving multiple expenses a quick and painless process!
Via the Mobile App:
1. From your Inbox, under Reports that need your attention, click Begin Review, and the system will bring you to the first expense on the oldest report in your Inbox.
2. Edit the expense: Make any necessary edits to the expense by tapping the corresponding field. Be sure to address any Violations and Notes on the expense! Notes are indicated at the top of the expense with a yellow exclamation point, while violations appear on the expense with a red exclamation point:
3. Choose Reject or Accept at the top of the expense.
- Reject: This will remove the expense from the report and send it back to the submitter. An email will be sent to the submitter explaining this expense has been rejected, and a comment will be added to the report it was rejected from. If this is the only expense on the report, the entire report will be rejected (and the expense will remain on the report).
- If Scheduled Submit is being used, rejected expenses will auto-report to the next Open report on the policy (as if it were a new expense). If an open report doesn't exist, Concierge will create a new one.
- If Scheduled Submit is not being used, any rejected expenses will be Unreported in the submitter's account and need to be manually applied to a new report.
- Accept: This will move to the next expense on the report, leaving behind any outstanding violations or notes. If this is the last expense on the report, you'll be all done!
Once you've made it through all of the expenses on the report, you'll be all set!
Related articles:


