How-to: Import expenses from a credit card or bank (on both the web and the app)

If you'd like to import your credit card so that your transactions flow directly to your Expenses list in Expensify, read on! When a matching SmartScan is created (or already exists) in the account, the expenses will merge to form one single expense.
Here's how to do this:
- Go to Settings > Account> Credit Card Import
- If your bank is not listed, just use the search box below to find it.
If your bank doesn't appear in the list, this means we do not currently support it and you can instead import your expenses via our CSV method.
- Connect with your account by using the same username and password you use for online banking.
- Once connected, we will pull in all of the accounts tied to your username. Just pick and choose the ones that you want to import!
Note: If you are importing a corporate credit card or a card that someone else pays off, make sure to uncheck the box for 'The expenses on these cards are reimbursable' when importing the card. Then click ‘accept terms and add' to import your card.
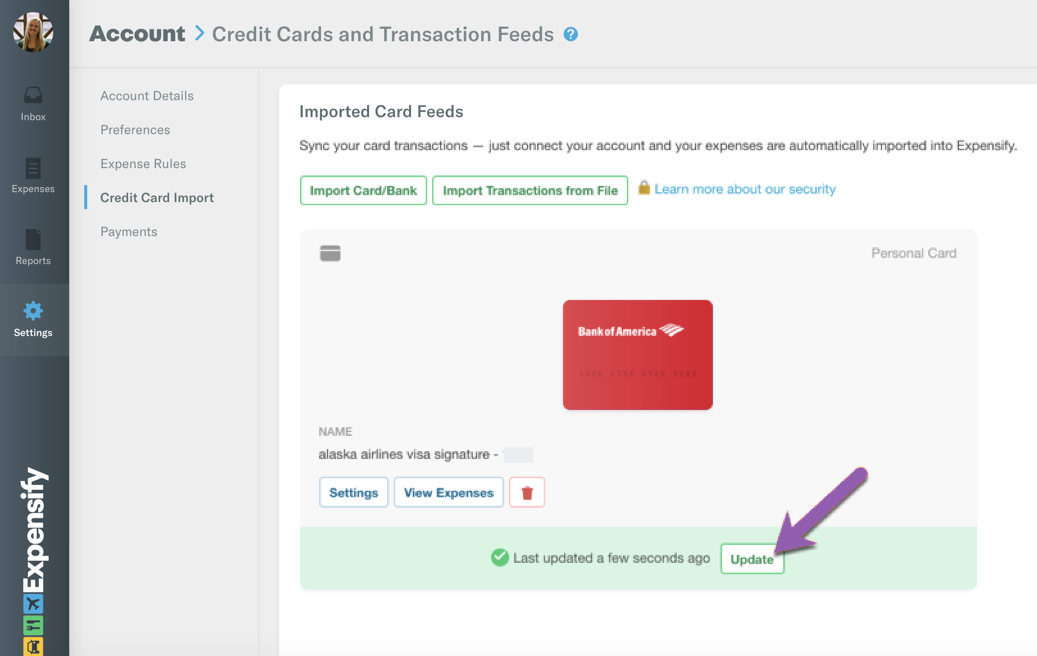
Once your card(s) has been successfully imported, you can then click Update next to the importing card(s) to pull the latest transactions into your account!
Importing expenses directly from your credit card or bank (in the mobile app):
In your Settings, tap Import a card and follow the directions (similar to how this is listed above) for your bank to start importing transactions!
Related articles:
- How-to: Remove or manage settings for imported personal cards
- Deep Dive: Is the bank/credit card import option for me?
- Deep Dive: Troubleshooting direct credit card connections
- How-to: Connect multiple cards to import transaction ~ combine them under one login


